Introduction:
In this article, we will guide you through the process of setting up Clash VPN using a V2Ray file. Clash VPN is a powerful and versatile VPN client that supports various protocols, including V2Ray. By following these simple steps, you will be able to configure Clash VPN and enjoy a secure and private browsing experience. So, let's get started!
Step 1: Watch the Tutorial
If you are new to setting up Clash VPN with a V2Ray file, we recommend watching our tutorial video first. This will give you a clear understanding of the process before proceeding with the setup.
Step 2: Download Clash VPN from Play Store
Go to the Google Play Store on your Android device and search for "Clash VPN." Download and install the app on your device. Clash VPN offers a user-friendly interface and robust features for a seamless VPN experience.
Step 3: Launch Clash VPN and Access the Home Screen
After installing Clash VPN, launch the app. You will be greeted with the home screen, which provides access to various settings and features.
Step 4: Create a New Profile
To import the V2Ray file, click on the "PROFILE" label.
Now Locate the plus sign (+) on the upper right corner of the app and click on it. This will allow you to create a new profile for the VPN configuration.
Step 5: Import the V2Ray File
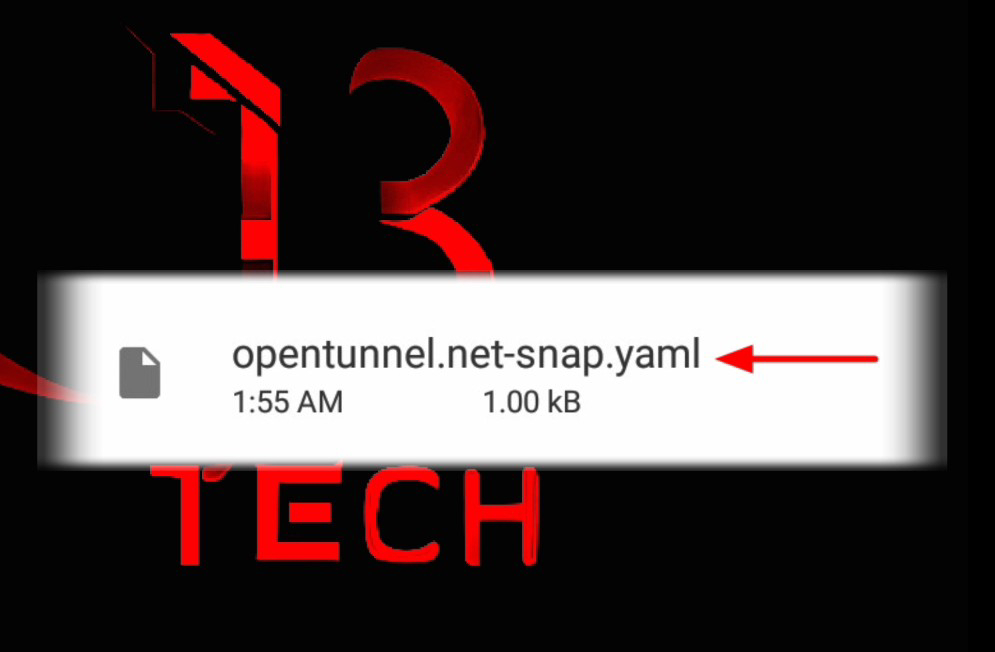
Select "FILE" to import the downloaded Clash file
Tap on "BROWSE FILES" to navigate to the downloaded file
Click on the three dots on the upper right corner. Then, choose the "IMPORT" button to import the file into Clash VPN.
Step 6: Customize the Profile
You can now rename the profile by clicking on the pencil icon and setting a custom name for easy identification. Once you have customized the profile, click on the save icon to save the changes.
Step 7: Select the Profile and Start the VPN
Go back to the main screen and tap on the profile you have created. This will select the profile for your VPN connection.
After selecting the profile, click on the "Tap to start" button to initiate the Clash VPN connection.
Conclusion:
Congratulations! You have successfully set up Clash VPN using a V2Ray file. By following these steps, you can now enjoy a secure and private browsing experience on your Android device. If you found this article helpful, please consider watching our tutorial video for more detailed instructions. Thank you for choosing Clash VPN, and happy browsing!
Follow me for more updates on:
Rumble Channel (watch my previously deleted YouTube video here)
Telegram Group
Telegram channel
WhatsApp
Facebook page
YouTube 13 Tech
YouTube 12_5 Tech
YouTube 13_3 Tech
Hashtags: #ClashVPN #V2Ray #VPNSetup #AndroidVPN #SecureBrowsing #PrivacyProtection #OnlineSecurity


0 Comments